When a paint job fails early, the paint usually isn't to blame. Peeling, blistering, cracking and flashing nearly always trace back to something that happened, or didn't happen, before the first coat went on. The product on the label matters, but the surface under it matters more.
Preparation is also the part of a paint job that's hardest for a homeowner to see in a quote. Two estimates can list the same rooms and the same paint and still describe very different amounts of work. This article explains what thorough prep includes and how to ask about it.
Paint needs something to hold on to
Adhesion is the foundation of every paint job. A new coat bonds best to a surface that is clean, dry, sound and slightly textured. Dust, grease, chalky old paint, mildew and loose flakes all act as a barrier between the new coat and the surface, and the new paint will only be as secure as whatever it's stuck to.
Gloss is another adhesion barrier. Paint struggles to grip slick surfaces such as old oil-based trim enamel or factory cabinet finishes. Scuff-sanding or deglossing, followed by the right primer, gives the new coat a surface it can actually bond with.
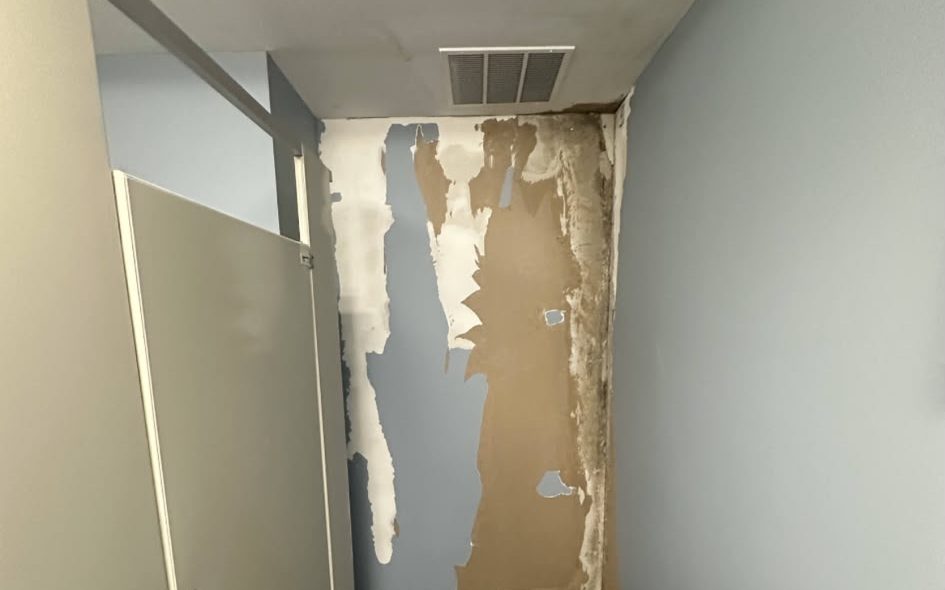
Moisture is the third enemy of adhesion. Paint applied over damp wood, fresh plaster or a wall with an active leak will eventually blister or peel, no matter how good the product is. Before painting, any source of moisture should be found and fixed, and surfaces should be allowed to dry thoroughly. A moisture meter helps take the guesswork out of that decision on exterior wood.
Finally, compatibility matters. Some coatings simply don't bond well to others, and certain stains and woods bleed through standard primers. Choosing a primer for the specific problem, rather than a one-size-fits-all product, is part of skilled preparation.
Interior prep step by step
Inside the home, prep is about creating a smooth, uniform base and protecting everything that isn't being painted.
Protection
Furniture is moved to the center of the room and covered. Floors are covered edge to edge. Switch plates and outlet covers are removed, and fixtures are masked or taken down.
Repairs
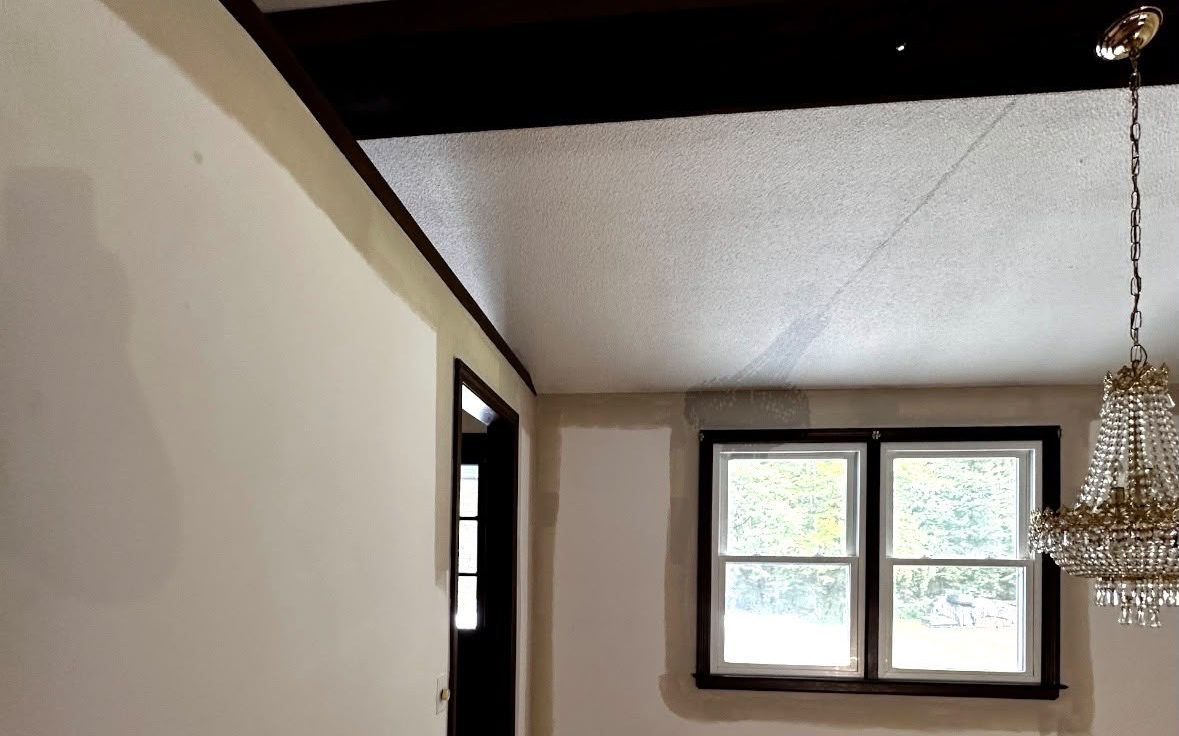
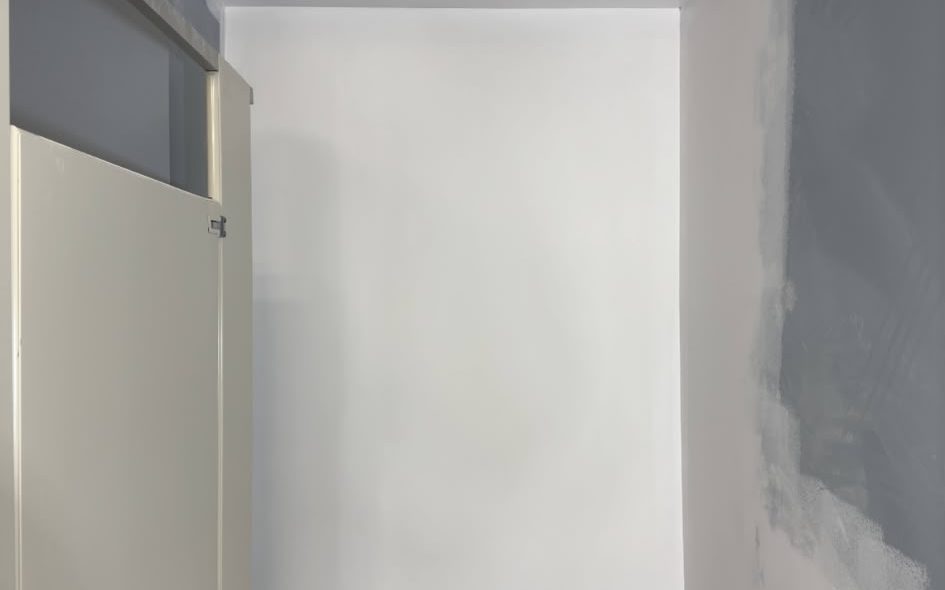
Nail holes, dents and small cracks are filled. Popped drywall screws are reset. Larger repairs are skim-coated in layers and sanded so the texture matches the surrounding wall.
Cleaning and caulking
Kitchen walls and trim near stoves are degreased. Gaps where trim meets the wall are caulked so the edge reads as a single clean line.
Priming
Patched areas are spot-primed so they don't show through the topcoat as dull or shiny spots. Water stains and smoke damage get a stain-blocking primer, since latex alone will often let them bleed through.
Exterior prep step by step
Outside, prep has a second job beyond appearance: keeping water out of the house.
Cleaning
Siding is washed or brushed down to remove dirt, chalk and mildew. Washed surfaces need time to dry fully before priming.
Scraping and sanding
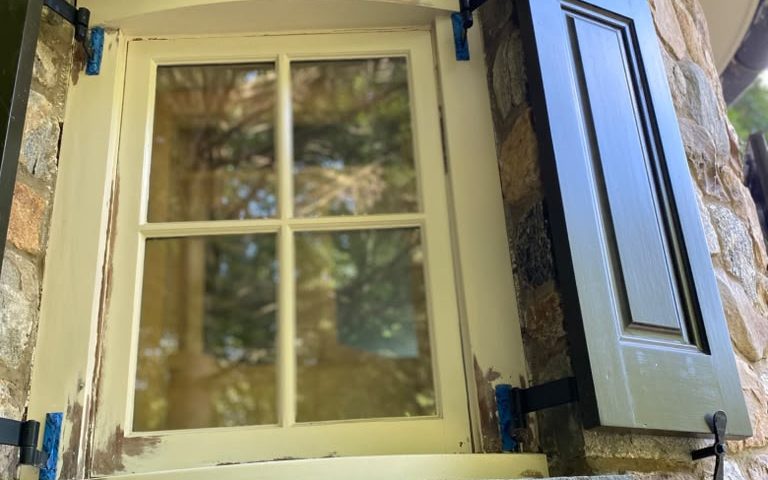
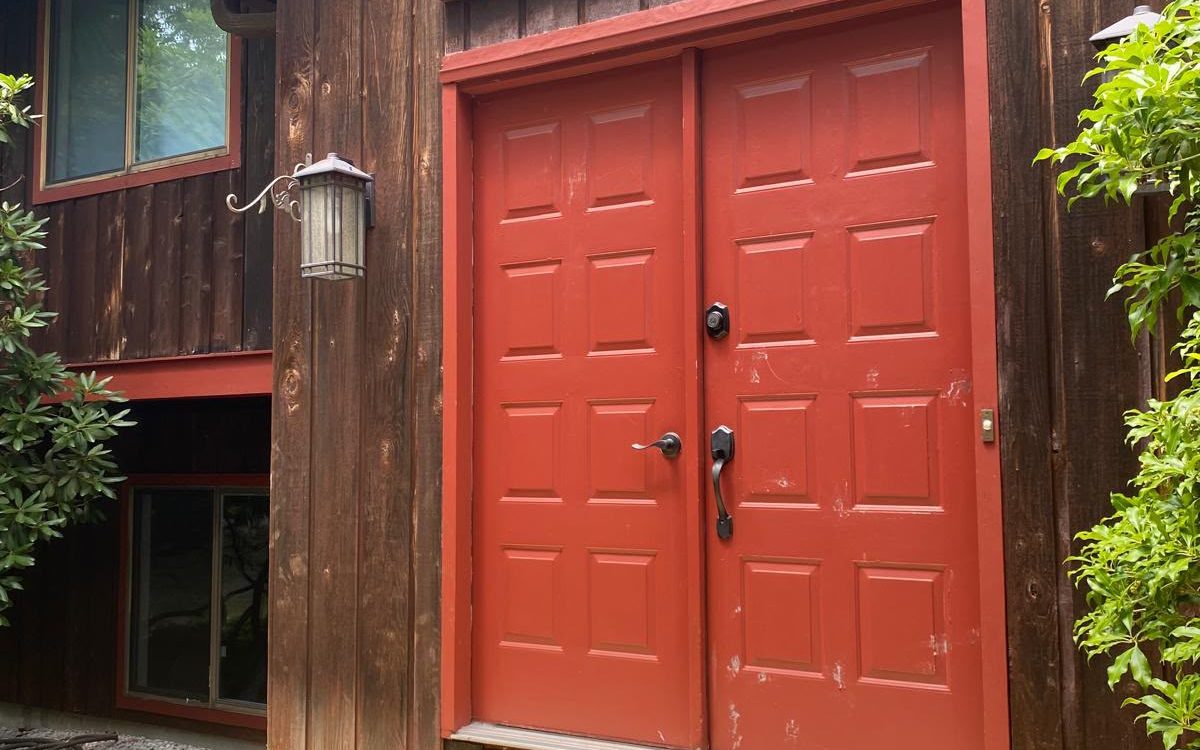
Every piece of loose paint is scraped off. Edges where paint has been removed are feather-sanded so the transition doesn't show through as a ridge under the new coat.
Repairs and sealing
Failed caulk around windows, doors and trim is cut out and replaced. Popped nails are set. Soft or rotted wood is identified and repaired or replaced before painting.
Priming bare wood
Any bare wood is primed with a product suited to the species and the topcoat. Bare wood left uncoated absorbs moisture and quickly undermines the paint around it.
The failures that skipped prep causes
Most paint problems have a recognizable signature. Knowing them makes it easier to understand why a contractor recommends certain steps.
- Peeling in sheets: often paint applied over a dirty, chalky or glossy surface
- Blistering: moisture or heat trapped under the film, sometimes from painting damp wood
- Cracking and alligatoring: incompatible coatings or overly thick layers
- Flashing: unprimed patches absorbing paint differently from the wall around them
- Bleed-through: stains, knots or tannins showing through without a stain-blocking primer
In nearly every case, the fix after the fact involves removing the failed paint and doing the prep properly, which is more work than doing it right the first time.
Prep on older Connecticut homes
Homes in the Naugatuck Valley range from early twentieth-century multi-family houses to postwar Capes and newer colonials, and each era brings its own preparation challenges.
Layers of old paint
Older homes often have many layers of paint, including oil-based coats beneath newer latex. Latex applied directly over glossy oil paint can peel, so testing what's on the surface and using a bonding primer where needed is an important step. If your home was built before 1978, some of those layers may contain lead, and disturbing them calls for lead-safe work practices.
Plaster and lath
Plaster walls develop cracks as houses settle. Simply filling a crack and painting over it often leads to the crack reappearing. Proper repair may involve opening the crack slightly, embedding tape or mesh, and applying compound in thin layers before priming.
Original wood trim and siding
Old-growth wood can be excellent material, but decades of weather leave it dry and porous. Bare spots soak up primer quickly, and checking or splitting may need filling before painting. Taking the time to stabilize that wood pays off in a finish that stays put.
How to compare estimates
When reviewing quotes, look for a description of the preparation, not just a list of rooms and a paint brand. A clear estimate should tell you what happens before painting starts.
- Will loose paint be scraped and edges sanded?
- Are minor repairs included, and what counts as minor?
- Which surfaces will be primed, and with what type of primer?
- Will caulk be replaced on exterior joints?
- How will floors, furniture and landscaping be protected?
If one estimate is significantly lower than others, the difference often lives in these steps. A lower price that skips prep usually costs more within a few years.
Why we spend the time
On our projects in Waterbury, Naugatuck, Cheshire and the surrounding area, prep typically takes a substantial share of the total labor. It's the least glamorous part of the job and the part that most determines how long you'll be happy with the result.
We'll explain exactly what preparation your project needs and why, and we'll show you any problems we find along the way, such as soft wood or stains that need special treatment. A finish is only as good as the foundation under it, and that foundation is built before the first coat goes on.
Questions about this topic
Prep is labor, so it does affect cost. But skipping it typically leads to failures that cost more to fix later, which makes thorough prep the better value over the life of the paint job.
Some homeowners handle tasks such as moving small items or clearing rooms. Repairs, sanding and priming are best left to the crew so the whole surface is prepared to one consistent standard.
Not on every surface. Sound, previously painted walls in good condition may only need spot-priming. Bare wood, patches, stains and glossy surfaces almost always do.
Related services

Written by the Brightline Painting team
We're residential painters based in Waterbury, Connecticut, with more than ten years of experience and over one hundred completed projects. Preparation is the part of our work clients see least, which is exactly why we wanted to explain it. More about us.