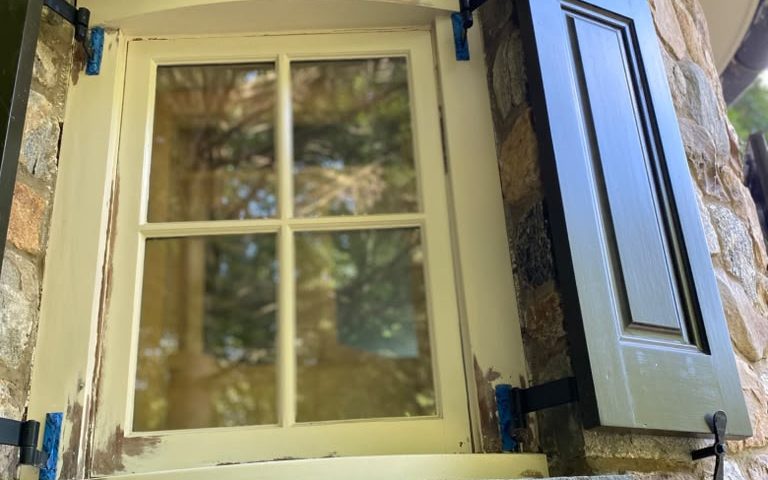
Walk through older neighborhoods in Waterbury, Thomaston or Naugatuck and you'll still see plenty of original wood windows. Many of them have outlasted several generations of replacement products. What keeps them going isn't luck; it's paint, caulk and glazing doing their jobs.
Painting these windows takes more care than painting a wall. They have small parts, moving pieces and, often, decades of old coatings. This guide covers what homeowners should understand before painting older windows, and what to expect from a professional who does it well.
Why window paint matters more than it seems
A window is a series of joints: glass to sash, sash to frame, frame to wall. Every joint is a place where water can enter. Paint and glazing compound seal the glass. Caulk seals the casing to the siding. The paint film on the sill sheds rain and snowmelt away from the house.
When those layers fail, water gets into the wood. The bottom rail of the sash and the top of the sill are usually first, since water sits there longest. Left alone, that moisture leads to rot, which can spread into the framing below the window. Keeping the paint intact is preventive maintenance, not just a cosmetic touch.
Windows also tell you a lot about the rest of the house. If the window paint is failing on one side of the home, it's often a sign that the same elevation is taking the most weather overall. That's useful information when planning a full exterior repaint, since those walls may need more thorough preparation.
There's an energy angle, too. Windows with cracked glazing and gaps around the casing let in drafts that no amount of insulation elsewhere can make up for. Sealing those gaps during a paint project makes rooms noticeably more comfortable through a Connecticut winter.
Know the parts before you paint
Understanding the anatomy of a window makes it easier to talk through the work and to spot problems.
- Sash: the movable frame that holds the glass
- Muntins: the narrow bars dividing panes of glass
- Glazing: the putty that seals each pane into the sash
- Stops and channels: the tracks the sash slides in
- Sill: the sloped exterior ledge that sheds water
- Casing: the trim surrounding the window, inside and out
Each part needs a slightly different approach. Muntins and glazing call for precise brushwork. Channels should stay free of paint so the window moves. Sills need the heaviest protection.
Lead paint and older windows
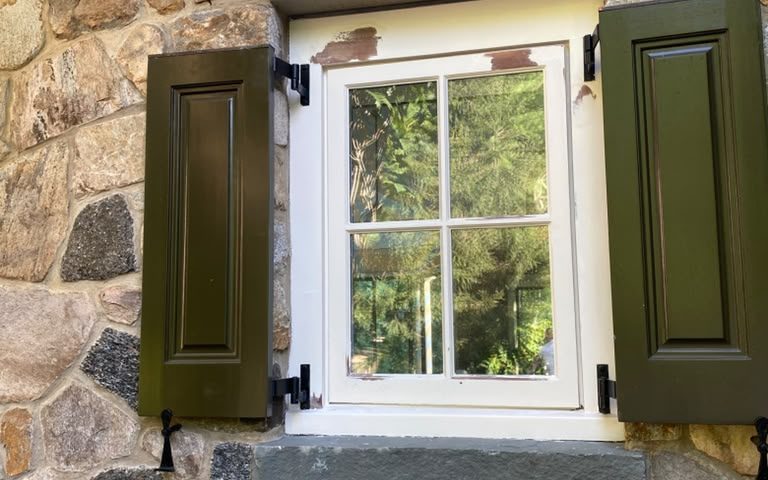
If your home was built before 1978, there's a real chance that some layers of paint contain lead, and windows are one of the most common places it's found. Friction from opening and closing old sashes can create lead dust even without any painting being done.
Federal rules from the Environmental Protection Agency govern renovation, repair and painting work that disturbs painted surfaces in pre-1978 homes. Those rules set requirements for how work areas are contained, how dust is controlled, and how the space is cleaned afterward. Connecticut also has its own lead regulations.
Before any scraping or sanding begins on older windows, ask your contractor how the work will be handled and whether testing is recommended. Lead test kits and professional testing are available, and knowing what's on your windows lets you make informed decisions, particularly if young children or pregnant family members live in the home.
Dealing with stuck sashes
Many old windows haven't opened in years because previous paint jobs sealed the sash to the stops. Freeing them is usually possible, but it should be done carefully. Forcing a painted-shut window can crack glass or split wood.
The paint line between sash and stop is scored and gently worked loose. Built-up paint in the channels may need to be removed so the sash can move freely again. Once the window is painted, it should be moved periodically while the paint dries so it doesn't bond itself shut all over again.
Glazing: repair before paint
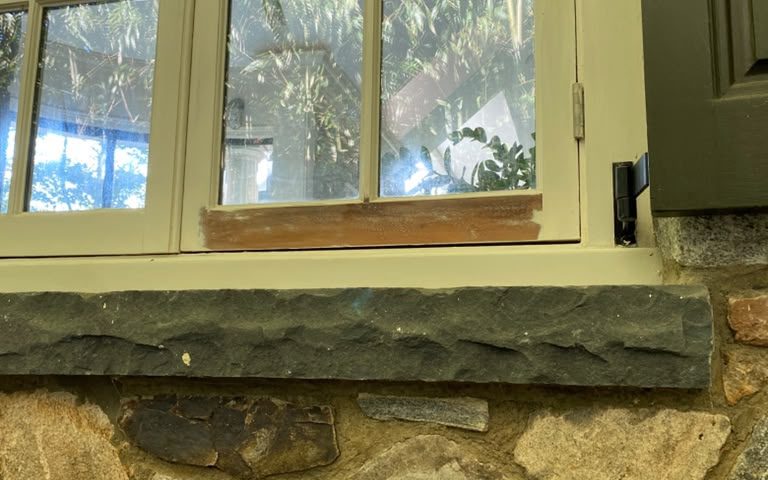
Glazing putty dries out and cracks over time. Small loose sections can be removed and replaced during prep. Where the glazing has failed across many panes, a more involved reglazing job may be needed before painting makes sense.
Fresh glazing needs time to skin over before it's painted, and the paint should lap slightly onto the glass, about a sixteenth of an inch, to seal the joint. Anything wider than that is cleaned off once the paint has set.
Giving sills the attention they need
Sills deserve extra care because they take the most weather. Loose paint is scraped, the surface is sanded smooth, and any soft spots are probed. Minor soft wood can often be consolidated and filled with an epoxy product. Severe rot may mean the sill needs to be replaced.
Bare wood on the sill should be primed promptly, then finished with a durable exterior coating. Check that the sill still slopes away from the house; a sill that has settled flat will hold water no matter how well it's painted.
Interior window trim deserves care too
Most of the attention on windows goes to the outside, but the interior side takes its own kind of wear. Condensation on cold mornings collects on the bottom of the sash and runs onto the stool, the horizontal ledge inside the window. Over time, moisture can lift the paint and stain the wood. Sun exposure through the glass also breaks down finishes faster than on other interior trim.
When we paint interior windows, we clean and degloss the trim, fill dents left by years of blinds and curtain hardware, and use a durable enamel that can be wiped down easily. We paint the sash so that it can still move freely and so the paint along the glass is crisp and even.
If condensation is a recurring problem, it's worth looking at humidity levels in the home, the condition of storm windows and the weatherstripping around the sash. Paint can protect wood from occasional moisture, but it can't fix a window that's regularly wet.
When to repaint
Exterior window paint generally needs attention before the siding does. A good habit is to inspect windows every spring. Look for cracked paint on sills, gaps in the caulk around the casing, and loose glazing. Catching a small failure early can mean a quick touch-up instead of a sill replacement.
If you're planning a full exterior repaint, windows are typically included, and it's the right time to address glazing and caulk. If the siding is in good shape but the windows aren't, a window-focused project can protect the house until the full repaint is due.
We paint wood windows across Waterbury and nearby towns as standalone projects and as part of exterior jobs. We'll look at the condition of your sashes, sills and glazing, explain what each needs, and make sure every window still opens when we're finished.
Questions about this topic
Many are. Old-growth wood is often dense and durable, and well-maintained wood windows can outlast replacements. Their condition, energy needs and budget all factor into the decision.
The only way to know is testing. EPA-recognized test kits and professional inspections are available. If your home predates 1978, assume lead may be present until testing shows otherwise.
Exterior storm windows often need to be removed or opened to access the prime window behind them. We'll plan around them and reinstall them when the work is done.
Related services

Written by the Brightline Painting team
We're residential painters based in Waterbury, Connecticut, with more than ten years of experience and over one hundred completed projects. Older wood windows are common around Waterbury, and this guide reflects how we approach them. More about us.